
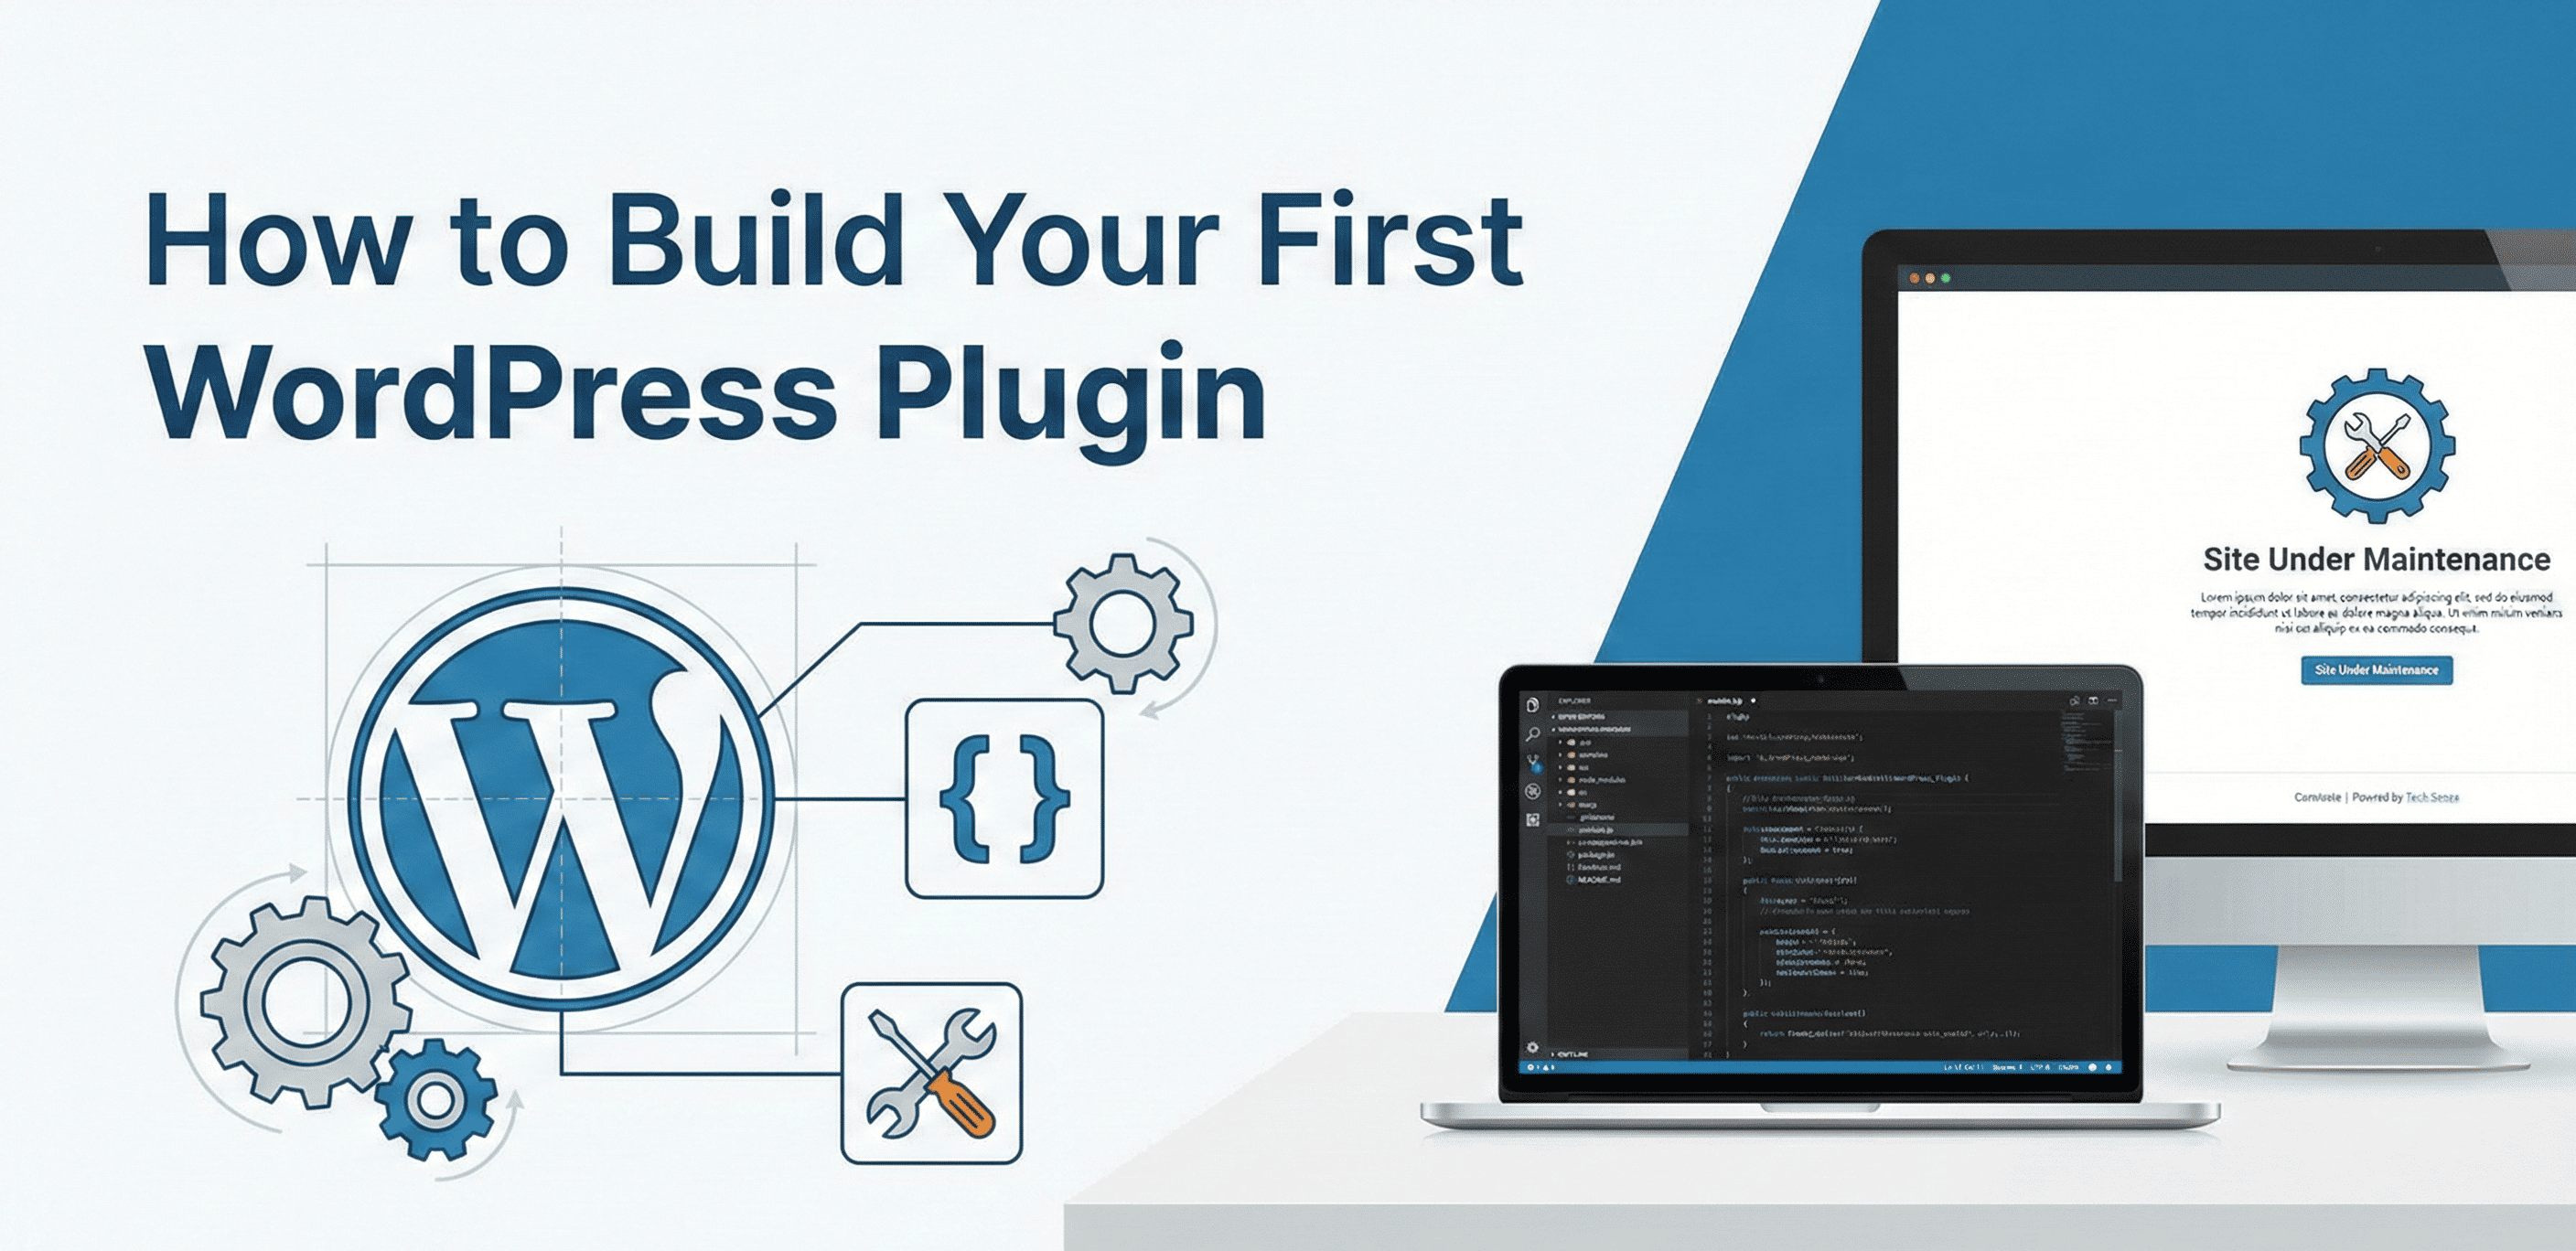
Building a WordPress plugin is the single best way to extend the functionality of a website without hacking the core files. Whether you want to add a simple contact form or a complex e-commerce engine, it all starts with the same foundation.
This guide will walk you through creating a "Site Maintenance Mode" plugin. It is a practical, real-world example that demonstrates the core concepts of WordPress development: hooks, permissions, and front-end rendering.
Prerequisites
Before we begin, ensure you have:
- A Local WordPress Environment: Tools like LocalWP, XAMPP, or Docker.
- Code Editor: VS Code, Sublime Text, or PHPStorm.
- Access to the File System: Specifically the
/wp-content/plugins/directory.
Step 1: The Foundation (Folder Structure)
WordPress looks for plugins in the wp-content/plugins directory. To keep things organized, every plugin should have its own folder.
- Navigate to your WordPress installation:
.../wp-content/plugins/ - Create a new folder named
simple-maintenance-mode. - Inside that folder, create a PHP file with the same name:
simple-maintenance-mode.php.
Why the same name? It is a WordPress standard that helps keep your directory structure predictable.
Step 2: The Plugin Header
WordPress "reads" your plugin through a specific comment block at the top of your main PHP file. Without this, WordPress will not recognize your code as a plugin.
Open simple-maintenance-mode.php and paste the following code:
PHP
Key Takeaway: The defined( 'ABSPATH' ) check is a critical security measure. It ensures no one can run your PHP file directly from the browser to exploit vulnerabilities.
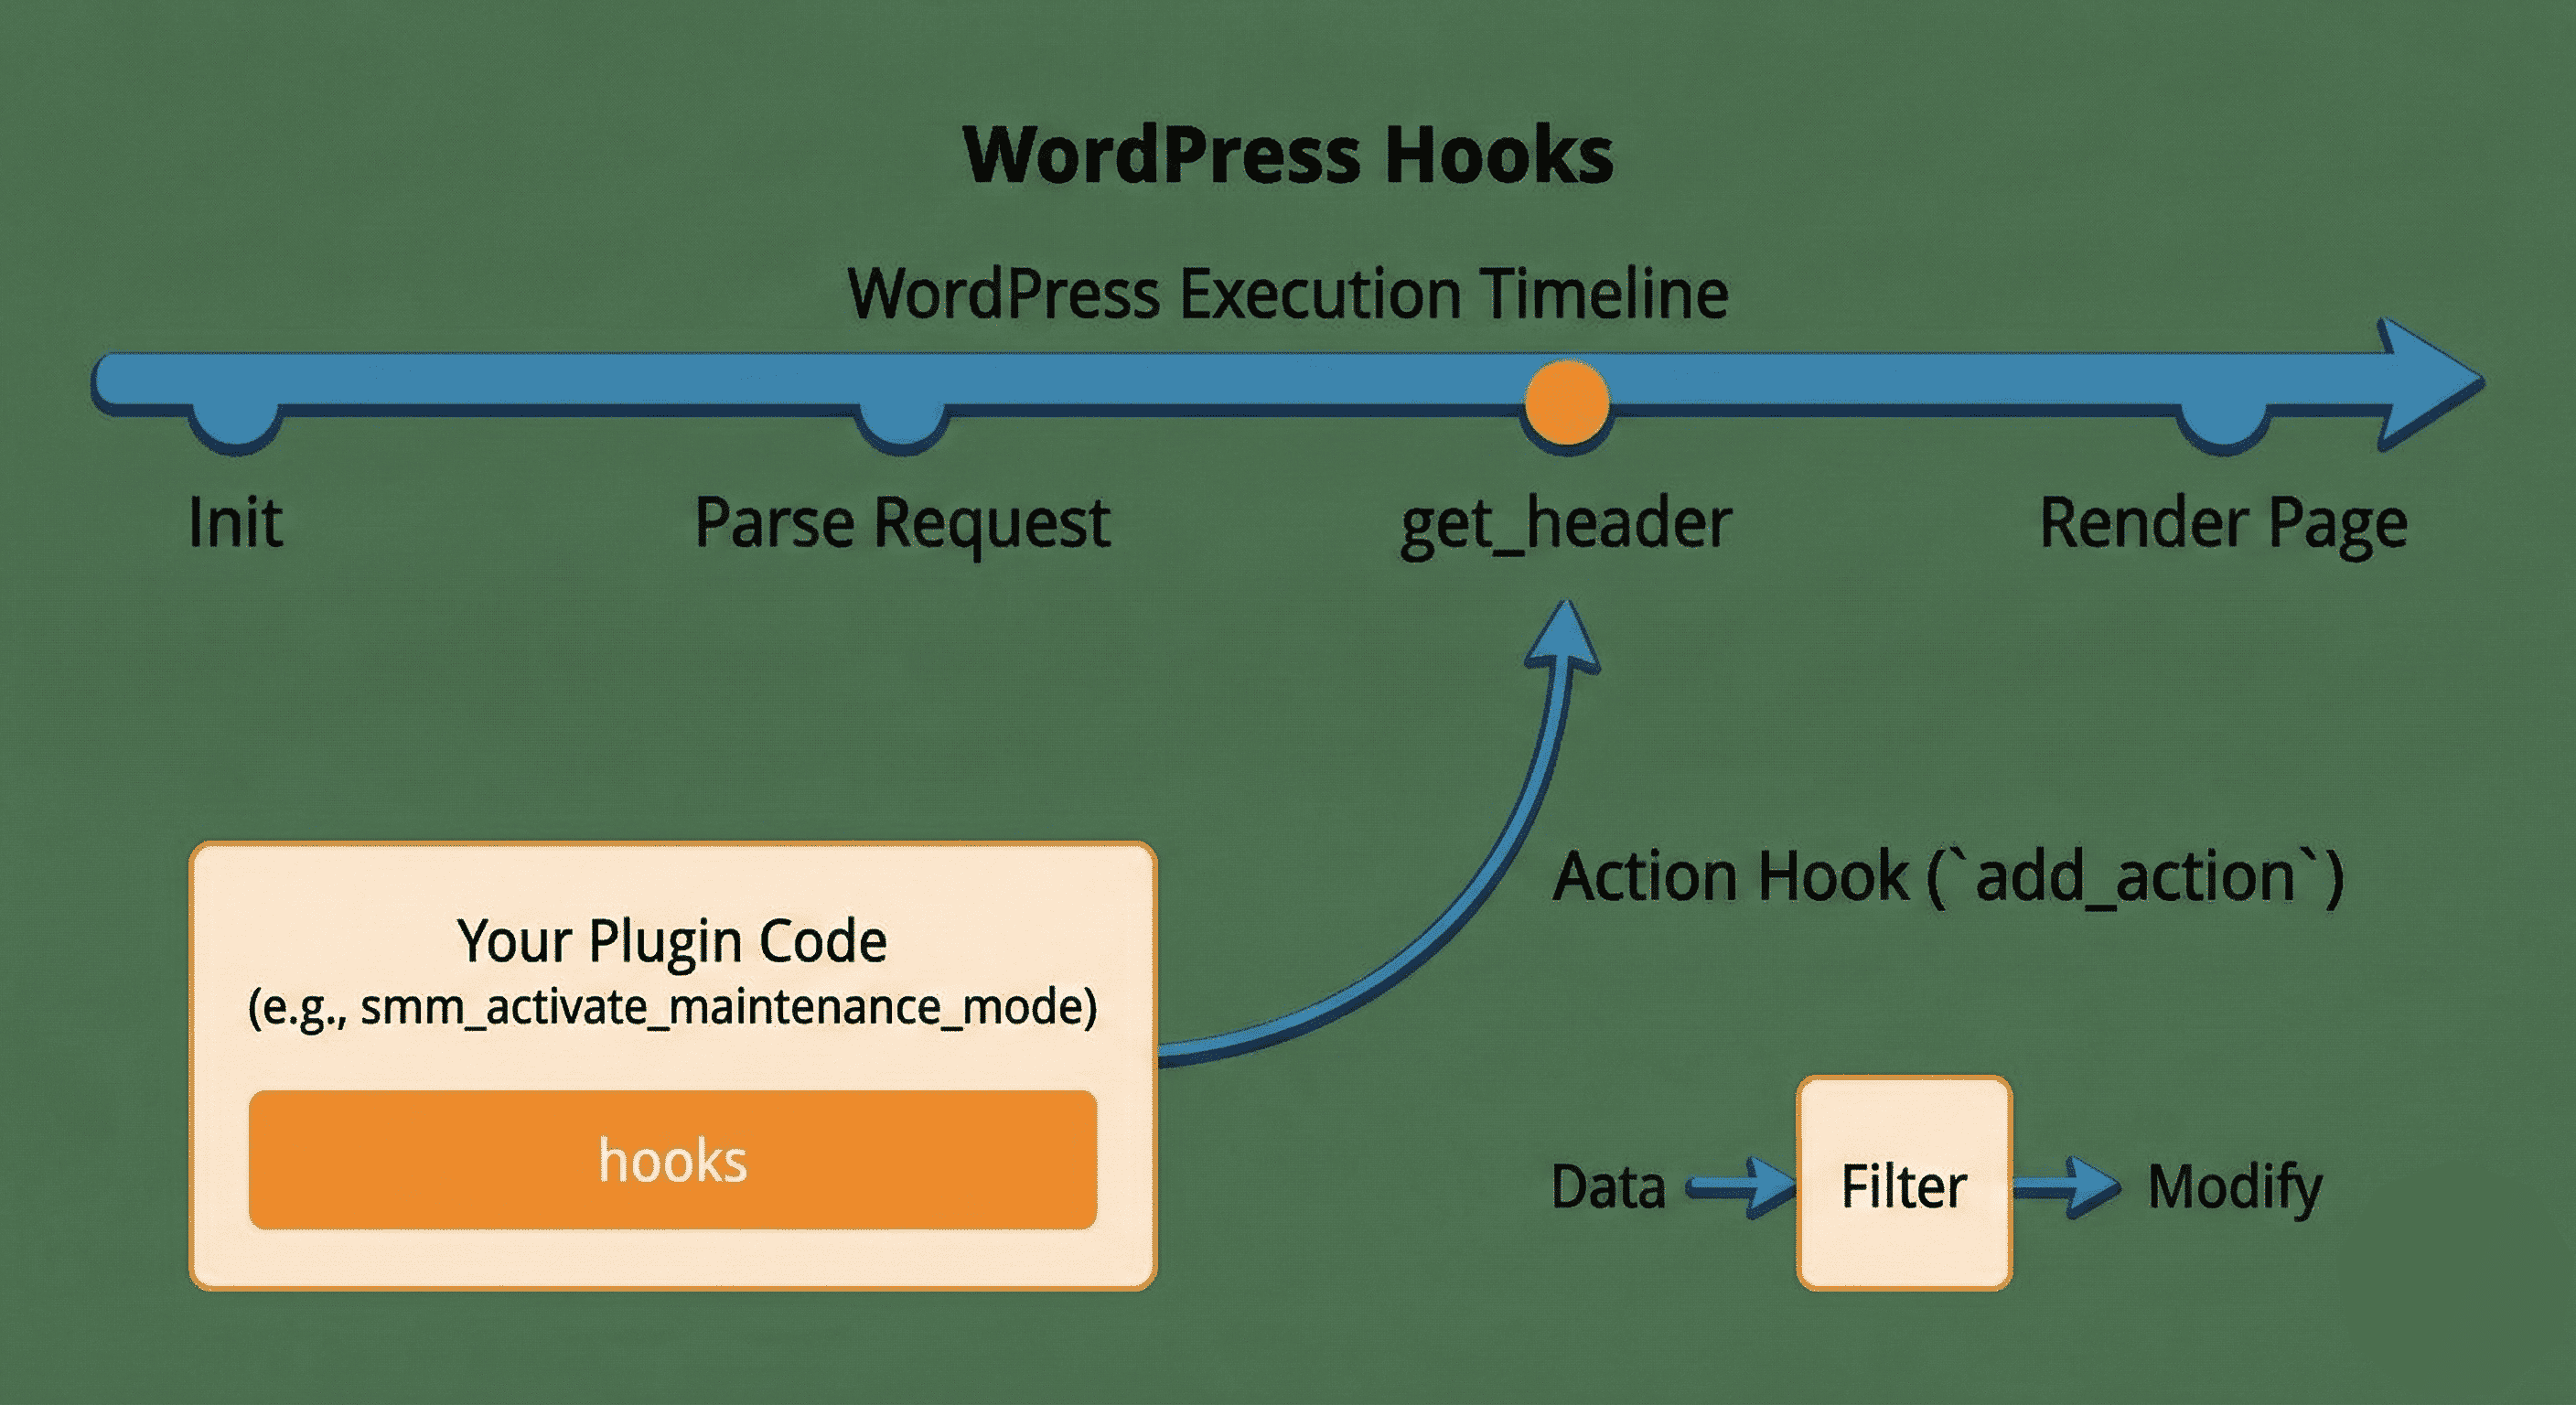
Step 3: Understanding "Hooks"
The magic of WordPress lies in Hooks. They allow you to "hook" your code into specific points of the WordPress execution timeline without modifying core files.
- Actions (
add_action): "Do this when X happens." (e.g., when the page loads, save data). - Filters (
add_filter): "Change this data before showing it." (e.g., modify the content of a post).
For our maintenance plugin, we will use an Action to interrupt the page load process. The diagram below illustrates how our plugin's code "hooks" into the WordPress execution timeline.
Step 4: Writing the Logic
We need to intercept the user request before the page loads. If the user is not logged in as an administrator, we will stop the page load and show a message.
Add this code below your security check:
PHP
Step 5: Adding an Activation Message (Optional)
It is good practice to let the user know something happened when they activate the plugin. We can use register_activation_hook to run code specifically when the "Activate" button is clicked in the dashboard.
Add this to the bottom of your file:
PHP
Step 6: Testing Your Plugin
- Log in to your WordPress Dashboard.
- Go to Plugins > Installed Plugins.
- Locate "Simple Maintenance Mode" and click Activate.
- Test as Admin: Visit your homepage. You should see the site normally.
- Test as Visitor: Open an Incognito/Private window (where you are not logged in) and visit your homepage. You should see the "Site Under Maintenance" message.
Best Practices for Future Development
As you move to complex plugins, adhere to these three golden rules:
- Prefix Everything: Always prefix your functions, classes, and variables (e.g.,
smm_for Simple Maintenance Mode) to avoid conflicts with other plugins. - Sanitize and Escape: Never trust user input. Always sanitize data before saving it (
sanitize_text_field) and escape data before outputting it (esc_html). - Separate Logic: As your plugin grows, don't keep everything in one file. Separate CSS, JavaScript, and PHP classes into their own subfolders.